
Sony PlayStation VR Review
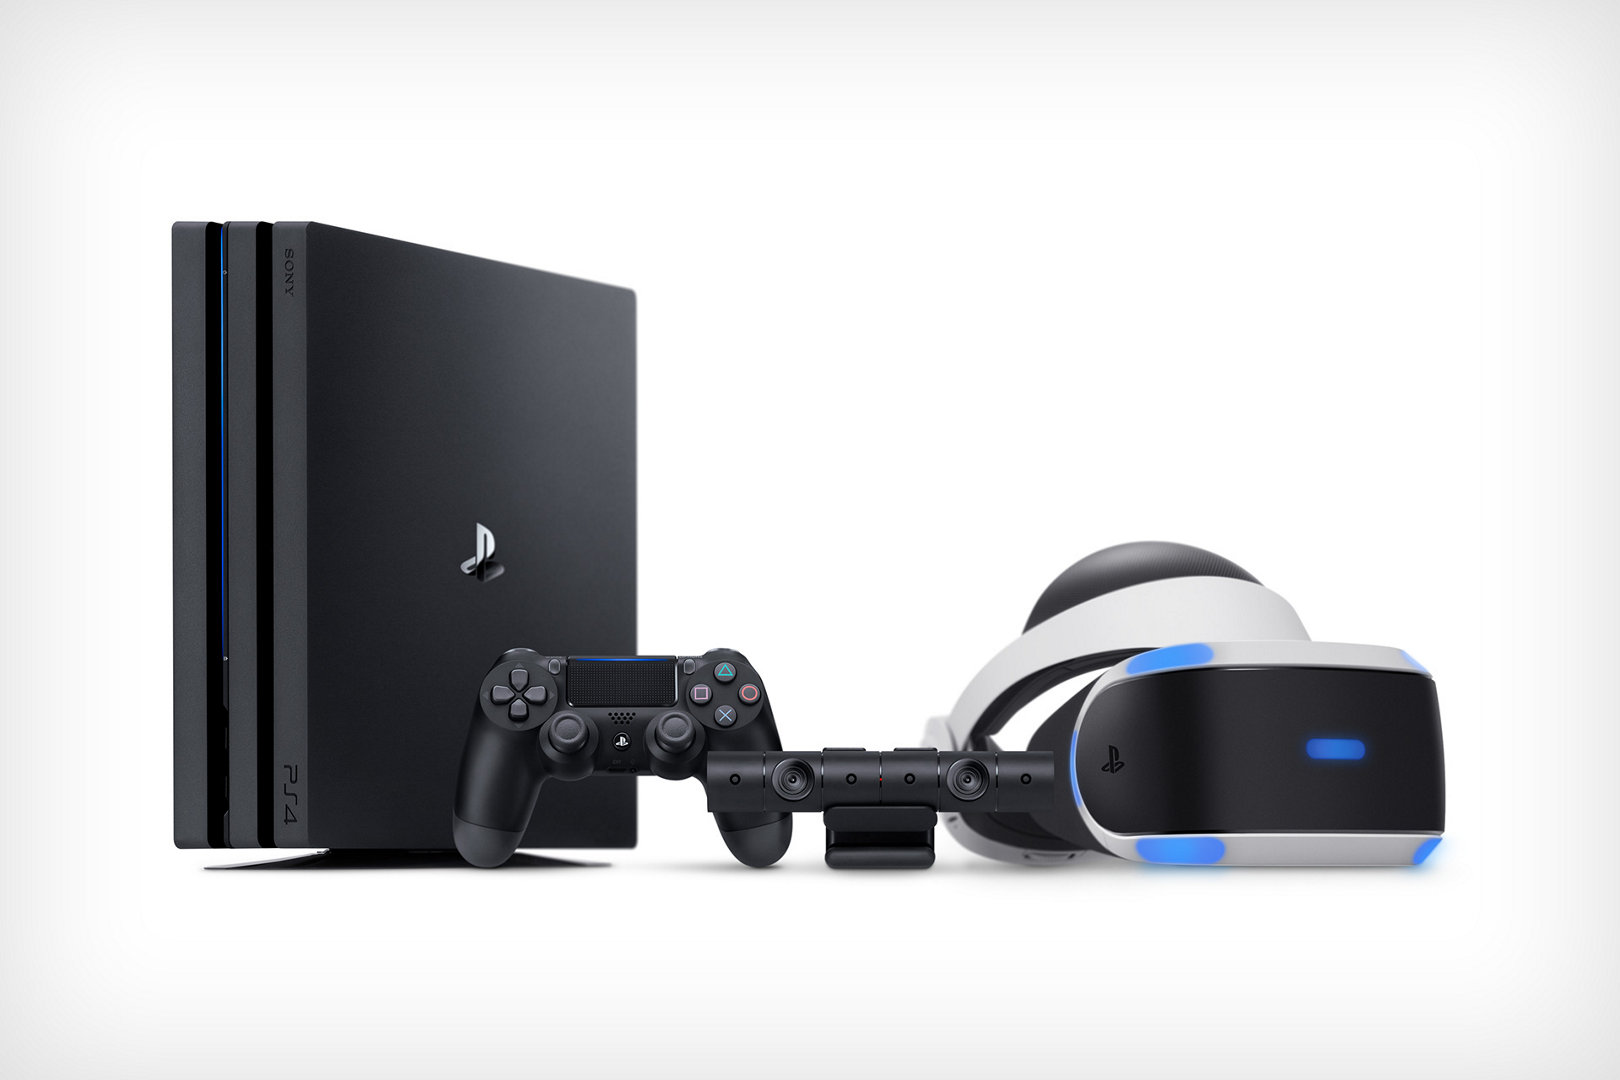
Sony’s virtual reality system, the PlayStation VR, is designed for use with the PlayStation 4 or PS4 Pro. It’s a powerful accessory that lags only a hair behind the PC-powered HTC Vive and Oculus Rift in specs, and is far less expensive, especially when you put the required PS4 up against the pricier VR-ready PCs the Vive and Rift require. In addition, its graphical capabilities and motion-tracking far exceed smartphone-based VR headsets like the Samsung Gear VR.
Requirements and Design
The headset itself mostly of curved white plastic, with a prominent visor that holds most of the electronics and a single thick headband that runs around the back of your head. It weighs 1.3 pounds, making it a bit heavier but not particularly bulkier than the Oculus Rift (1 pound) and the HTC Vive (1.2 pounds). The headband is supported by a plastic crosspiece with an adjustment wheel and button, and sturdy elastic is hidden where it connects to the visor. Gray panels around the front, with a few scattered over the back, hide multicolored lights that come on when you use the headset; they’re used in tandem with the PlayStation Camera to track the headset’s location. A wire runs from the left side of the visor and partly along the headband before dropping down freely to connect to the PS VR processor box with the included connection cable.
To put the headset on, just place the visor over your eyes and pull the headband back, stretching the elastic until the crosspiece fits against the back of your head. Turning the wheel tightens and locks the headband, keeping the headset in place while you use it. The button releases the headband so you can adjust it or pull it off. It’s a notable departure from the Vive and Rift, both of which use a T-shaped harness with a strap that runs over the top of your head.An inline remote sits about a foot down the wire from the headset and contains a 3.5mm headphone jack for use with the included earphones (you can use any earphones, but the included pair is very short to minimize cable slack), volume up/down and mic mute buttons, and a power button that turns the headset on and off with an audible beep from the processor unit. The cable terminates in two HDMI connectors; one is a standard HDMI plug and the other has a bump over the top giving it a proprietary shape. They both plug into the VR connector cable, which in turn plugs into the processor box with another pair of the same HDMI plugs.
The VR processor box looks like a miniature PlayStation 4, only with a rectangular profile instead of parallelogram. It measures 5.6 by 5.6 by 1.4 inches (HWD) and weighs 12.9 ounces, making it notably larger and heavier than the HTC Vive Link Box but still dwarfed by the PlayStation 4 next to which you’ll be placing it. The front holds an indicator light on the left two-thirds of the box and a pair of connectors for the headset on the right third. The VR connectors sit recessed in a plastic sleeve, which slides back to let you plug the cable in before returning to its original position to hold the cable slightly more securely. The back holds a connector for the included power brick, a micro USB port for connecting directly to the PlayStation 4, an HDMI input to connect to the PS4’s video output, and an HDMI output to connect to your television.
Setup and Display
It produces a nest of cables comparable with the HTC Vive and its Link Box. To plug the processor box into the front of the PS4 with the included USB cable, into the back of the PS4 with an HDMI cable, and into your television with another HDMI cable. Then plug the PS VR headset into the processor box with the VR connector cable, and plug the power brick into the processor box. Finally, plug the PlayStation Camera into the back of the PS4. Once connected, turn on the PS4 and you’re ready to go. Once it’s booted up, press the power button on the inline remote of the headset. It will turn on and display the PS4’s main menu as a large screen projected in front of you, using the headset’s lights and the PlayStation Camera to track your position.
The PS VR uses a 1,920-by-1,080 OLED panel split into 960-by-1,080 images for each eye, which is a bit lower resolution than the 2,160-by-1,200 panels (1,080-by-1,200 for each eye) used in the Rift and Vive. This means the PS VR’s picture is just slightly grainier, but aside from some minor pixelation with small text, it isn’t a very noticeable downgrade. The PS VR’s panel also sports a 120Hz refresh rate, which means the headset has the capability of smoother motion than the 90Hz Rift and Vive. It looks smooth and stands solidly alongside the other two headsets in picture quality.
Controls and Motion Tracking
The PS VR works with Move motion controllers, originally developed as a Wii-like motion control system for the PlayStation 3 (but much more precise). These controllers aren’t included with the $399 bundle, but the $449 bundle includes a pair of them. Move uses two motion-sensing wand controllers with glowing bulbs that the PlayStation Camera tracks along with the PS VR’s positioning lights. The result is a motion-control system that performs very similarly to the HTC Vive’s in terms of accuracy, though without the Vive’s controller’s touchpad.
Games
The PlayStation VR started with the best signal-to-noise ratio of fully formed games rather than small-scale experiences that serve as tech demos. It doesn’t launch with any single killer app to justify the headset, but there are enough complete games to provide several hours of entertainment so that it feels like more than just a tech demo.Sony includes a disc filled with software to get you started. It mostly consists of trial versions of retail VR software of varying scopes and prices, like Driveclub VR, Rigs, and Thumper. Along with some full versions of PS VR software provided by Sony for the review including Batman: Arkham VR, Battlezone, and Until Dawn: Rush of Blood.


